How to Android without Google [hard way]
May 23, 2018 · 1876 words · 9 minutes read

This guide shows how to install LineageOS without GApps with the help of signature spoofing and microG, so that you can have Push Notifications, Location Services and the like, without needing to have Google Play Services installed. (Without Google-anything for that matter)
It was made possible by the hard work of creators, maintainers and community around LineageOS, microG, XPosedFramework, F-Droid, Yalp Store and many others.
- NOTE 1: every
adbandfastbootcommands I describe here assume the path you’re in is the path with the specified files. If it’s not, either move there or point to it from where you are. - NOTE 2: During the whole process I’m assuming the device is connected to your computer.
- NOTE 3: This tutorial has references to the OnePlus One device, but it should apply to any other phone that’s supported by LineageOS. Where you see
bacon(OPO codename) that means you should search that content’s link for your own phone. You can find the codename for your phone here: https://wiki.lineageos.org/devices/
DISCLAIMER: Following the steps here might brick your phone or cause other types of problems. Follow it at your own risk and make sure you understand what you’re doing.
Now, there are at least two ways of achieving this - the step-by-step/hard way (this guide) or the straightforward/easy way. Choose the one it best fits your needs.
Setting up the playground
- Backup your phone (apps, settings, files, images, etc)
- Install
adbandfastbooton your device - follow instructions here
A little context
This approach consists in flashing a custom version of LineageOS and manually installing Xposed Framework alongside all microG components. The reason for it to be the hard way will make itself clear with the next steps, as you have full granularity of the components you’re installing.
So let’s get to it then.
Download the following files:
- Your LineageOS rom - https://download.lineageos.org/
- The SU package (check your phone’s CPU architecture for arm/arm64/x86) - https://download.lineageos.org/extras
- (Optional) Weather provider(s) - https://download.lineageos.org/extras
- The Xposed Framework installer - https://forum.xda-developers.com/attachment.php?attachmentid=4319220&d=1509453299 (more info here: https://forum.xda-developers.com/showthread.php?t=3034811)
- The F-Droid store apk - https://f-droid.org/packages/org.fdroid.fdroid/
- The FakeGapps Xposed module (this works with microG GmsCore to allow for Push Notifications, Locations Services and so on) - http://repo.xposed.info/module/com.thermatk.android.xf.fakegapps
Unlock the Bootloader and flash recovery
- Unlock the bootloader instructions here: https://wiki.lineageos.org/devices/bacon/install
- Boot into the bootloader:
adb reboot bootloader - Install customer recovery with fastboot (https://wiki.lineageos.org/devices/bacon/install) (https://dl.twrp.me/bacon/)
fastboot flash recovery <path-to>/<recovery-name-and-version>.img- Boot into recovery (volume down + power button) - depends on phone
- Go to Wipe → Factory Reset (this will be enough for the majority of cases. Advanced Wipe and Format Data will give you complementary choices if needed - like if you’re changing ROMs - CM to LineageOS - and have signing problems. In that case there may a possibility you have to delete everything. If you do that, remember
Mountotherwise the file system won’t work)
Let’s copy the necessary data to our device
adb push <path-to>/lineage-14.1-20180516-nightly-bacon-signed.zip /sdcard/- no need to copy this one if you’re planning on installing it viaadb sideload(Advanced → ADB Sideload thenadb sideload <path-to>/lineage-14.1-20180516-nightly-bacon-signed.zip)adb push <path-to>/addonsu-14.1-arm-signed.zip /sdcard/adb push <path-to>/XposedInstaller_3.1.4.apk /sdcard/adb push <path-to>/com.thermatk.android.xf.fakegapps_v3_bfc686.apk /sdcard/adb push <path-to>/org.fdroid.fdroid_1001000.apk /sdcard/
Installing the ROM
- Go to Install, select the file of your custom ROM and install
- Since we’re here, let’s also install the SU package (
addonsu-14.1-arm-signed.zip) - Reboot
- First time booting will take a little longer given that it’s doing it for the first time. After that you should be prompted with the usual Android initial config screens.
Signature spoofing and F-Droid
What we have now is your ROM in it’s simplest format. This means no Google Apps, no PlayStore, no Push Notifications, no Locations Services, etc… Living without the last two is rather difficult, kind of beats the purpose of having an Android, so we’ll focused on fixing that.
- Let’s start by unlocking developer mode so we can unlock SU access. Go to Settings → About Phone → Tap Build Number 7 times
- Go back and enter the new menu Developer Options
- In Root Access select Apps Only
- Turn on Android Debugging (if you’re connected to your computer a prompt will show to authorize, do that as well so you can use adb)
Since every app we’re gonna install doesn’t come from the Play store, we need to enable installments from “Uknonwn Sources”
- Go to Settings → Security and toggle Uknown Sources on
Now it’s time to install stuff. Go to your file system and install the following:
- Xposed installer
- FakeGApps module
- F-Droid (we’ll come back to this one in a second)
Time to configure Xposed. Opening the app we’ll see that Xposed framework isn’t installed, so let’s do that.
- Click Install/Update and choose one of the two forms
- Install will require you to have root access
- Install via recovery is done the same way we installed the ROM (no need for root here)
- Finish by going onto Modules and enabling FakeGApps as well as XposedUnifiedNlp
- Reboot
Installing microG
Now let’s get on with installing what will replace Google Play Services. Applications and libraries for microG are available through F-Droid, so we’ll add that to our F-Droid repositories.
- Settings → Repositories → New Repository - https://microg.org/fdroid/repo
- In Settings, enable Expert Mode and Unstable Updates - we need this for the microG packages, because the ones working aren’t stable yet
Let’s install it’s dependencies. Through F-Droid install:
- microG Services Core (make sure you’re installing version 0.2.4-10-xxx or newer) - this is microG main app and the core of what’s replacing google services
- microG Services Framework Proxy - this is needed for some older clients to work with Google Cloud Messaging
- microG DroidGuard Helper - runs DroidGuard in an isolated environment
- FakeStore - mocks the existence of Play Store to the Play Services clients
Location Services
Since we’re already here, let’s install some location providers (choose from here: https://f-droid.org/packages/com.google.android.gms/):
- MozillaNlpBackend (or any other you prefer really)
- NominatimNlpBackend
NOTE: I’m using F-Droid because I use it everyday, however you’re not obligated to. Just go and get each on this packages individually.
Now, you’ll also need to install the NetworkLocation.apk if you find here: https://github.com/microg/android_packages_apps_UnifiedNlp/releases If, like me, you can’t install it (it says it’s corrupted, it’s a ROM issue and we’ll need to manually put it where it belongs. If that’s the case (more info here: https://github.com/microg/android_packages_apps_UnifiedNlp):
- Go to Settings → Developer Options and in Root Access select Apps and ADB
- Download the NetworkLocation.apk and mount the /system directory by running
adb root && adb remount - Now move the apk to it’s rightful place
adb push NetworkLocation.apk /system/priv-app/NetworkLocation.apk
Back to microG
- Start by allowing access to what it asks, it’s really needed
- Enable Google device registration
- Enable Google Cloud Messaging
- Go to UnifiedNlp Settings and set both location providers you’ve just installed
Next we need to turn battery optimization off for microG, otherwise it won’t work as the system will likely shut it down. (Google Play Services aren’t battery optimized as well, at least here you have a choice).
- Go to Settings → Battery → More Options → Battery Optimization → All Apps → microG Services Core → Don’t use optimization
- Reboot (so that the location services work properly)
Last thing is testing location services and push notifications
Testing location services and push notifications
Now that we have everything setup, time to actually test if it’s working as expected.
Location Services
This one is easy. First enable the device’s location by going into Settings → Location → Mode and set to High accuracy (notice that it won’t work with Device only).
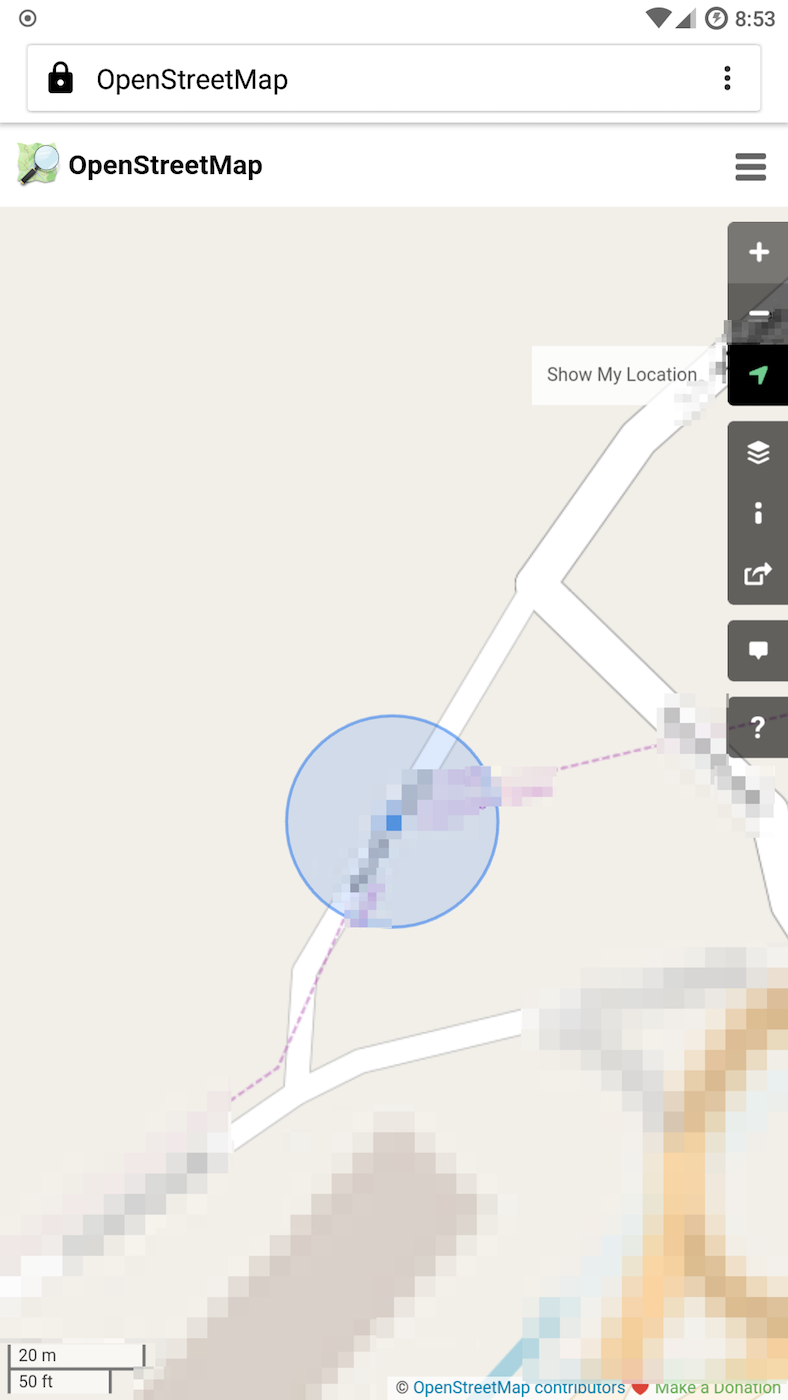
Head on over to the Browser app and open OpenStreetMaps (or whatever maps/location service you want), allow it to access the devices location, and click to show your location.

Push notifications
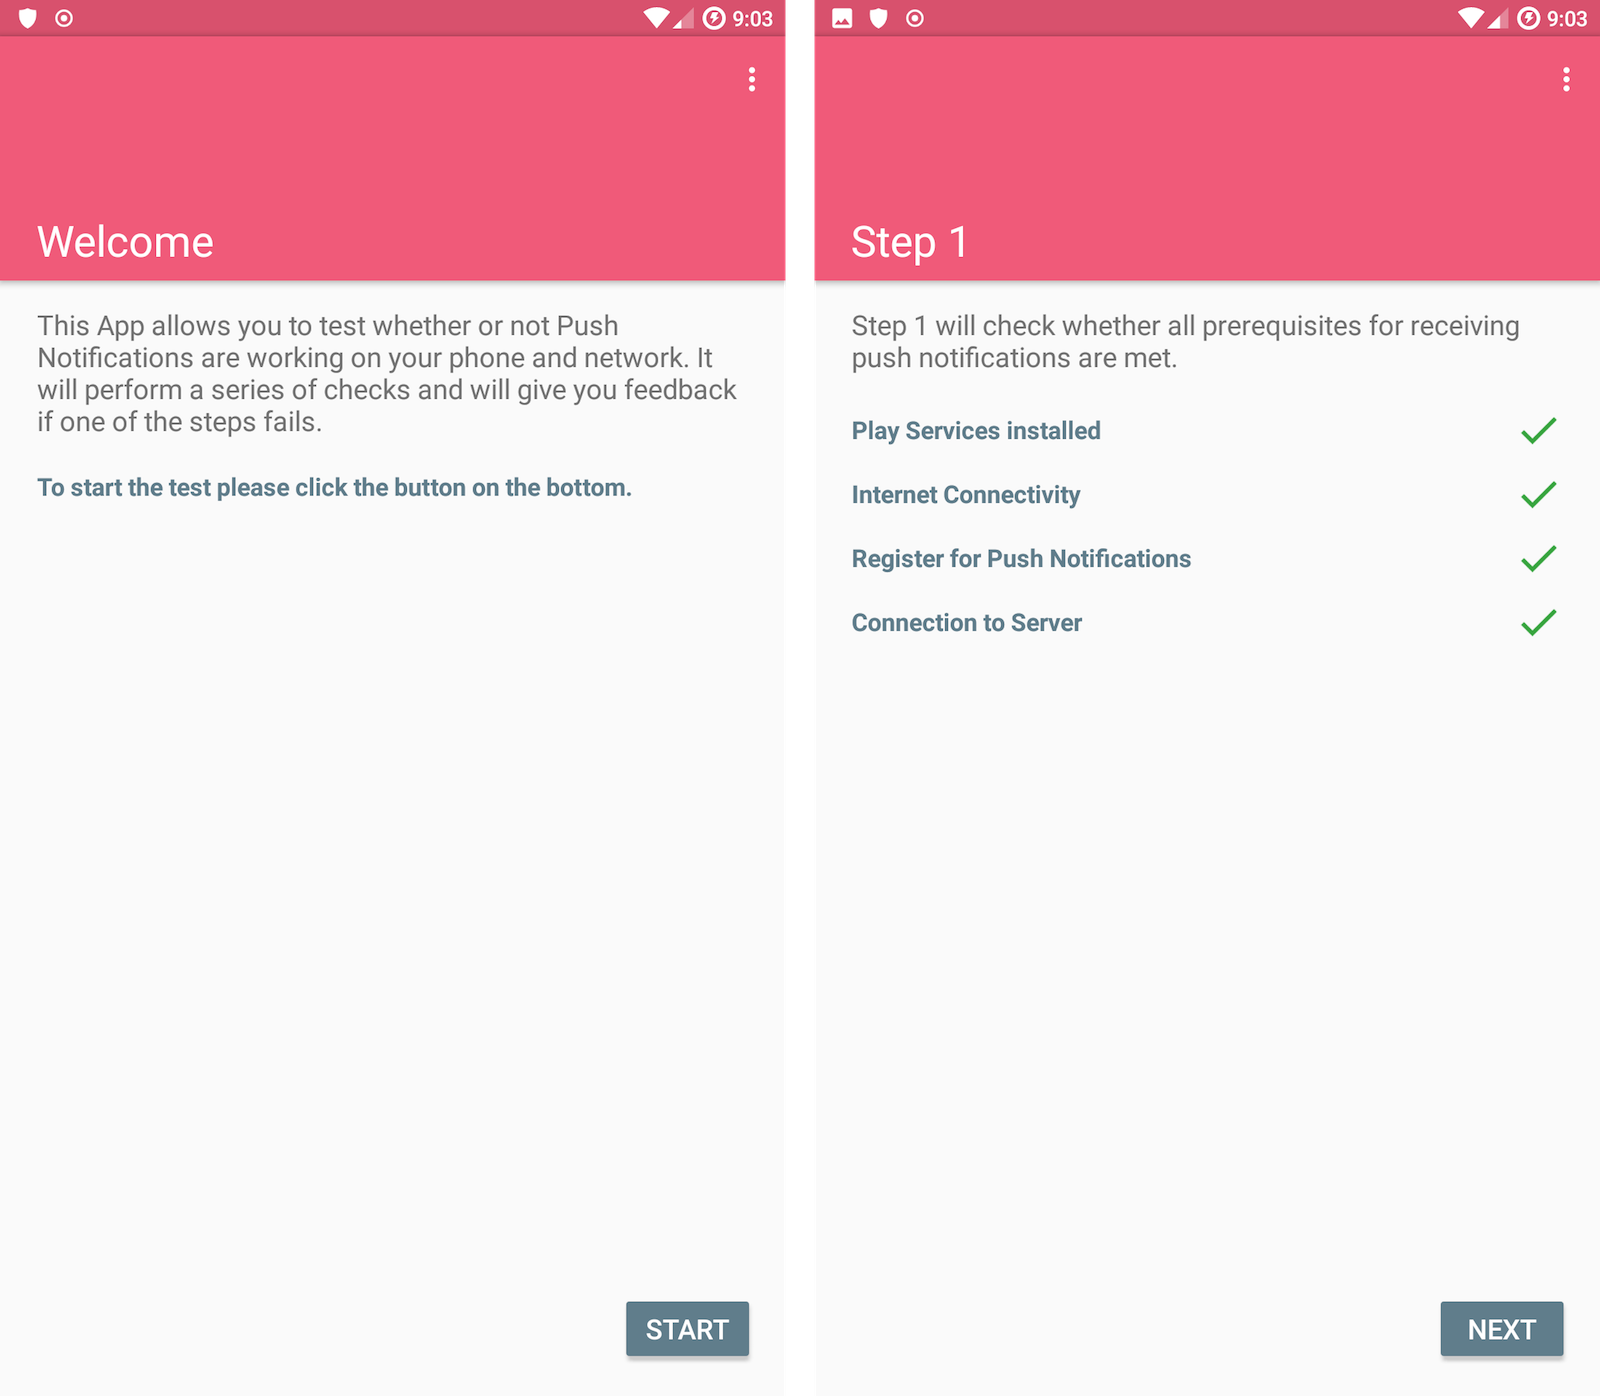
We’re just missing Push Notifications so let’s test that. Easiest way is to use an app - Push Notification Tester.
To install apps from Play Store without Play Store app, check this. Proceed to install Push Notification Tester through Yalp Store.
Running it should get you all green tick boxes and a push notification in the end.

And that’s it, you’re officially setup with a fully functional device running Android with no Google whatsoever!
Where to get apps that are not on F-Droid
Thanks to a project called Yalp Store you can download apps and keep them updated from the Play Store. I’ve used mirrors in the past, but this is by far the safest solution for me, as well as the easiest to use. You can download the app on F-Droid and check how it works on their page.
Thoughts and motivations
The main reason why I went forward and did this was to actually get rid of all that’s Google on my phone. This doesn’t mean that I won’t install some GApp, because I have, in the past, but because I have full control over it as I have with any other application. What bothered the most is exactly that, Android is free and open-source, but somehow it doesn’t seem that straightforward to have what you need, without something Google in there.
The funny thing is that there isn’t really a way not to deal with Google. If you read the purpose of microG you’ll understand it mainly serves as a proxy, something that still communicates with Google servers. The fact is, there is no way around that. The whole Android ecosystem is dependent of Google, either because of Google Play services or Play Store (every other store is officially unrecommended - they know what it’s best for you - Apple dejá vú much?). The former means that every app on Play Store registers push notifications through Google servers, so if you don’t have something that connects to those servers, you’re pretty much screwed and won’t get push notifications (K-9 mail does this differently though). Albeit Android being free and open-source, each day it seems less and less so. Just look at this tutorial on how to run an Android version without Google.
If you think about it, you have an open platform with an ecosystem around that is tightly dependent on a single company. Personally, that is not the purpose of Android, and in the long run, we’re just losing because of that. Also, if you want to develop an app you need to comply with Google Play Store policy, whether you like it or not, and if you make yearnings out of it, 30% of that goes to Google.
Take a moment in the memory lane to the time Microsoft ruled the web with Internet Explorer. If you could gather all the hate that browser has, you could probably build a couple of atomic bombs. Fast forward to now and Chrome rules the web, and if your attentive enough, you’ll notice the messages like “Works best on Google Chrome” or “Sorry, only works with Google Chrome, download it here” are getting more and more frequent. The concept of open web is getting way different that what it used to be.
And don’t get me wrong, I’ve absolutely no problem with Play Store or Play Services, I just think there needs to be space for an alternative that doesn’t entirely depend on Google and doesn’t involve you becoming a tech ninja.
Here’s a challenge: try doing this ↑ on iOS!